This is an experiment in displaying publishing data from OHMS XML as an AudiAnnotate project. It is not the only possible way to configure an AudiAnnotate project from an OHMS file, nor is AudiAnnotate the only way to publish OHMS files. (See especially the OHMS support built into Aviary.)
To produce this AudiAnnotate project from an OHMS item, we took the following steps:
1) Find your OHMS xml file for your audio item.
Convert the XML file to a CSV File
2) Go to: https://www.convertcsv.com/xml-to-csv.htm
3) Upload your OHMS xml file into the field in step 1.  4) Skip step 2.
5) In step 3, “Generate output”, Choose “XML to Excel”. This will automatically generate an Excel file for download.
4) Skip step 2.
5) In step 3, “Generate output”, Choose “XML to Excel”. This will automatically generate an Excel file for download. 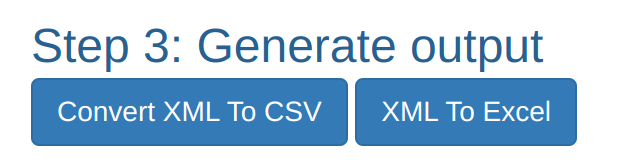
Process the spreadsheet
6) Update keywords If you had keywords in your OHMS you’ll need to open the file in Excel, search and replace semicolons (;) with commas (,) within the “keywords” column and save.
Add the spreadsheet to AudiAnnotate
After creating a new project and item in AudiAnnotate, you’re ready to upload your OHMS Excel file. You’ll do this multiple times for each type of data coming from OHMS – once for each layer you want to create from the columns in your spreadsheet.
In our project we decided to upload the spreadsheet three times to create layers for these fields:
- Title
- Subject
- Synopsis + Index terms
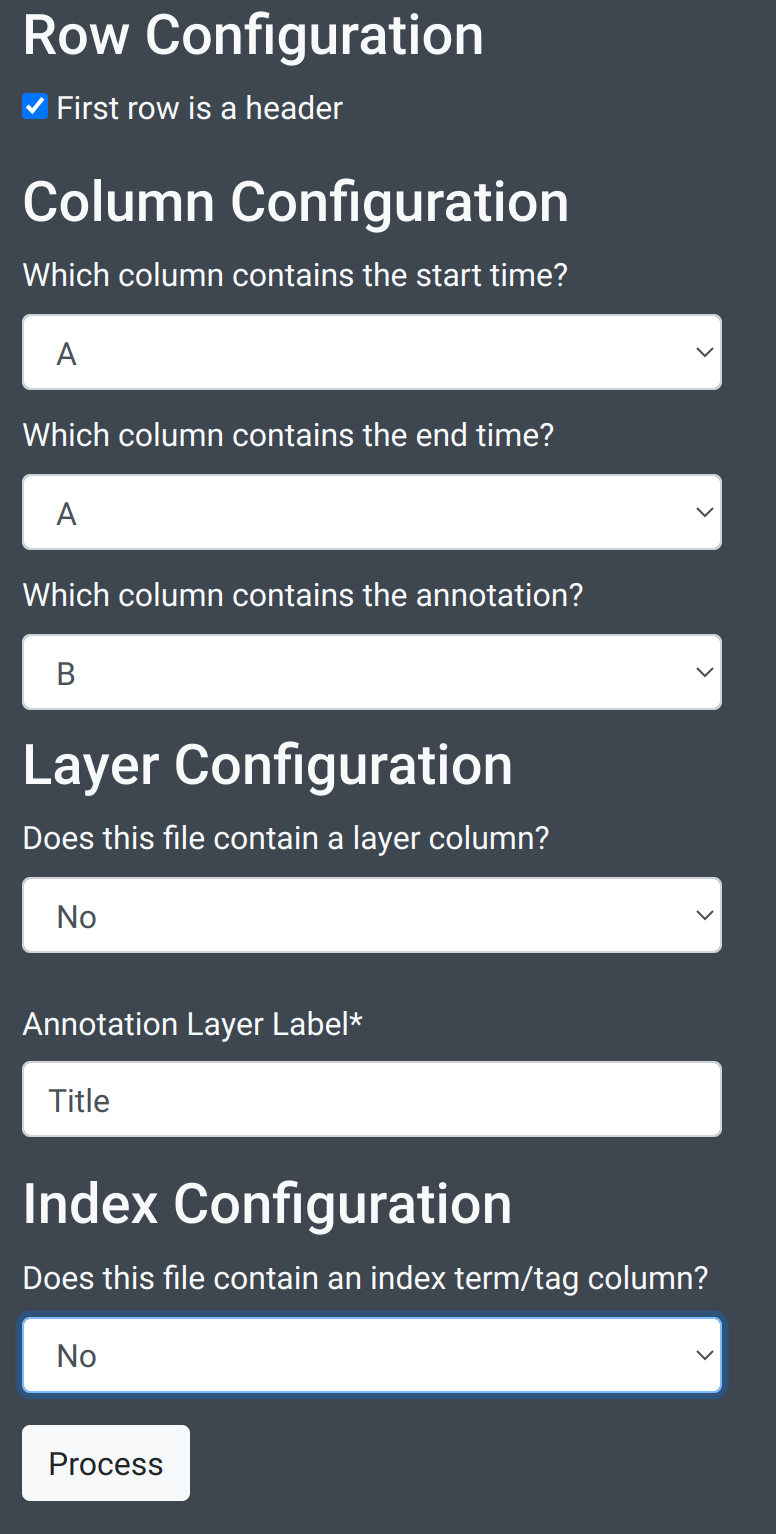
7) Upload the file. 8) Choose the following settings for the Title layer: First Row is a header “A” for start time “A” for end time (note that start time and end time are the same column, as OHMS timestamp are point annotations) “B” for annotations “No” for layer column Enter “Title” for the value
Title Settings
Synopsis and Keyword Settings

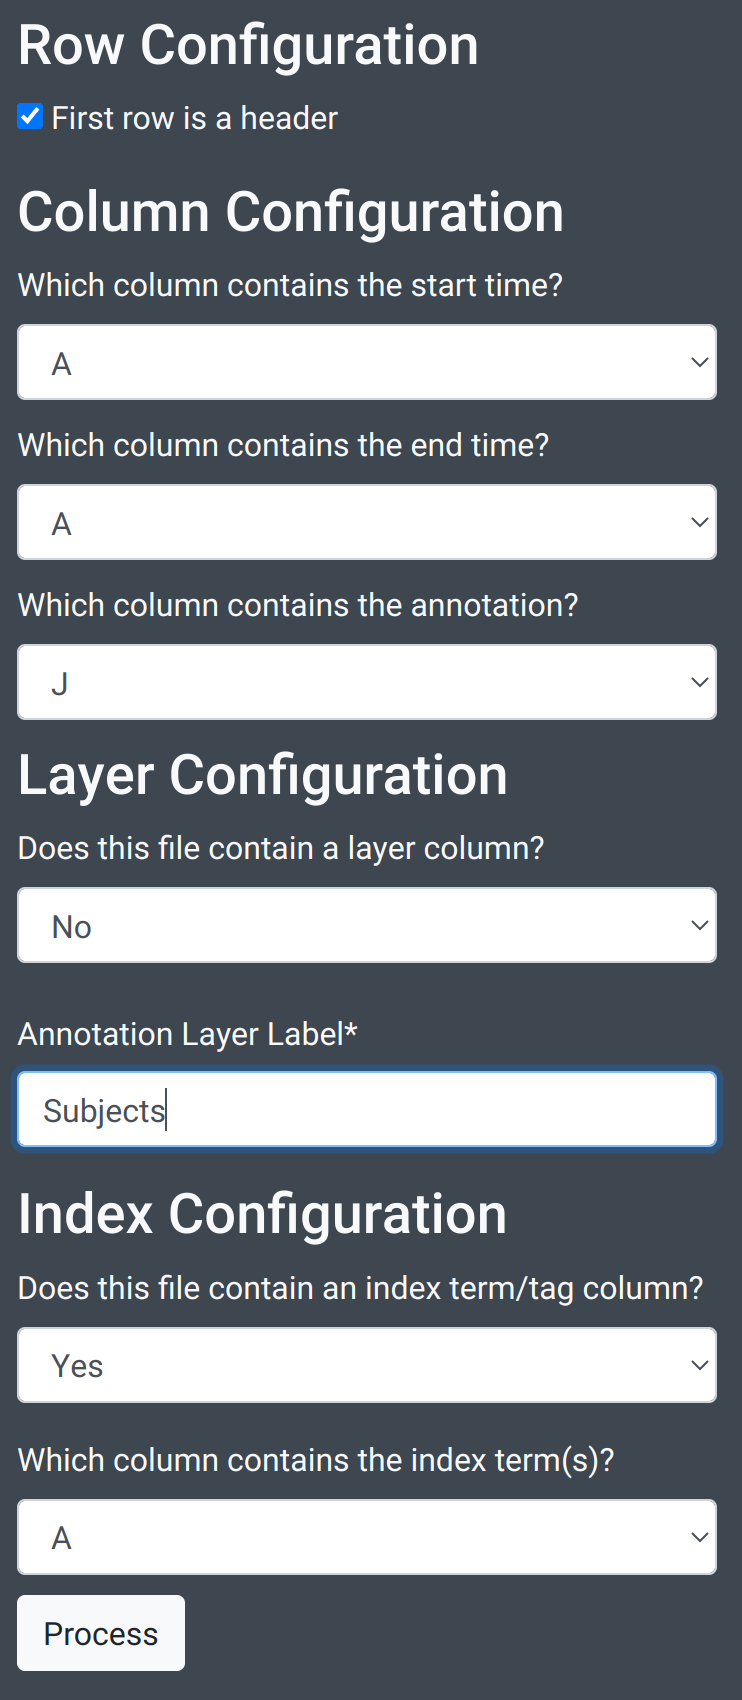
Subject Settings